The Deck
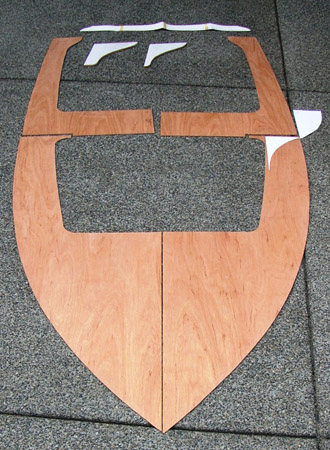
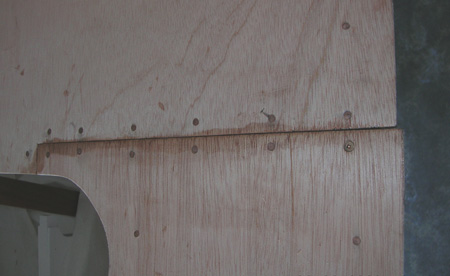
The new deck pieces.
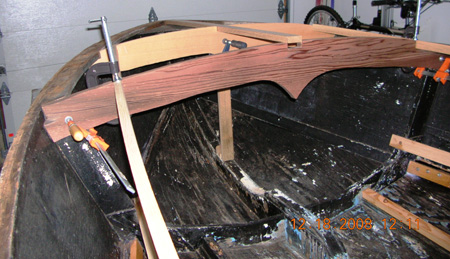
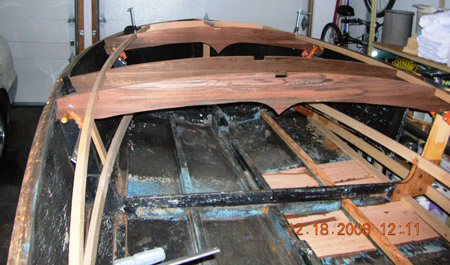
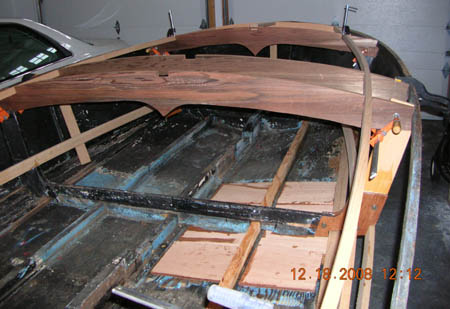
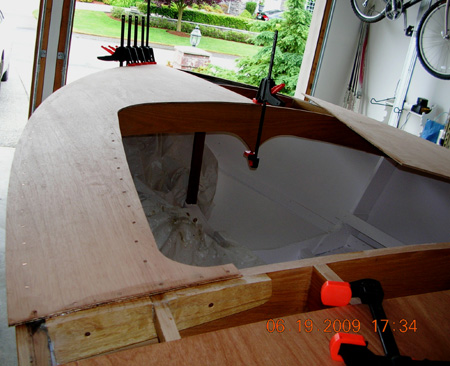
I pulled the decks off using an electric router which worked really well. The original deck had a second layer of 1/4 in. laid over the top - similar to reroofing over an existing roof. Not pretty. The original was totally delaminated and the top plywood layer was not much better. I think I vacuumed up most of the original deck it was like paper. With the decks off I found I only had four broken deck beams - out of four. I made patterns and installed four new oak deck beams.
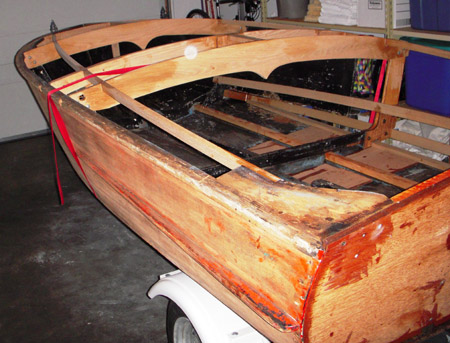
Decking was the next project. I started with wood patterns made from inexpensive Luan wood panels that Tom Regan recommended that I build. It is a lot less expensive to make a mistake on the Luan than the marine decking. The decking was fun to install and I was getting better at it as the project progressed.
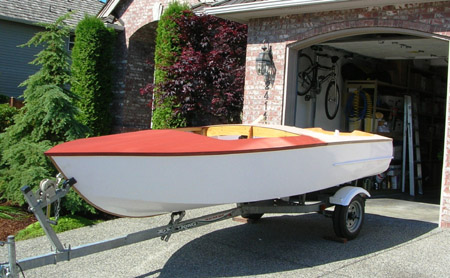
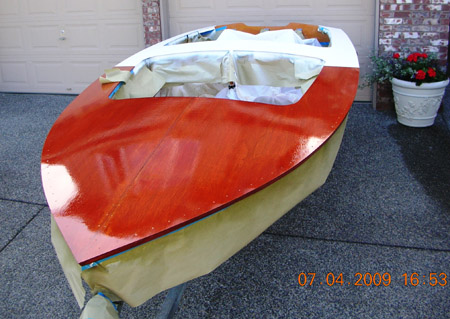
It was time to start sanding and sealing. I purchase an inexpensive spray gun that would work with my compressor and started shooting clear sealer on everything except where the varnish was going to go. Since I had never used a spray gun before, shooting the clear sealer was good practice. After three or four coats of sealer on the inside, I moved to the primer and final Brightside enamel. With some help of the neighborhood Dads and kids, we flipped the boat and started to work on the bottom again. I filled the bigger tear outs and that was about all the fairing that I did. I then sprayed three coats of sealer, two coats of prime, and then two final coats of Brightside.
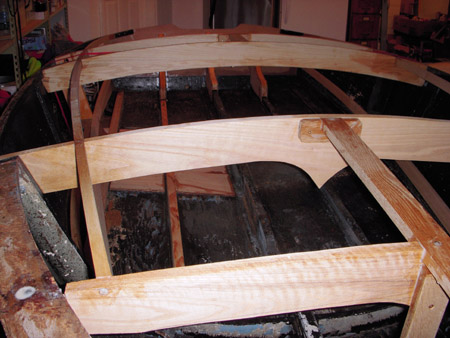
All the deck frames were replaced. The scalloped beams of the original Ace were kept but the points could be removed later.
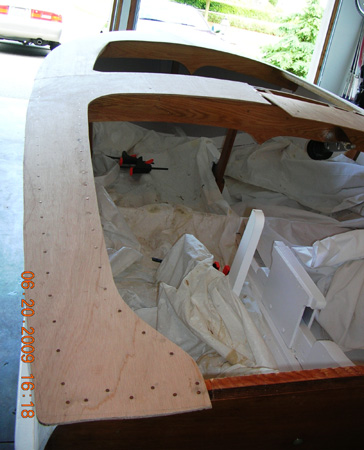

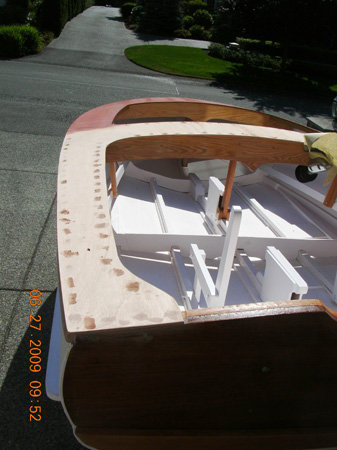
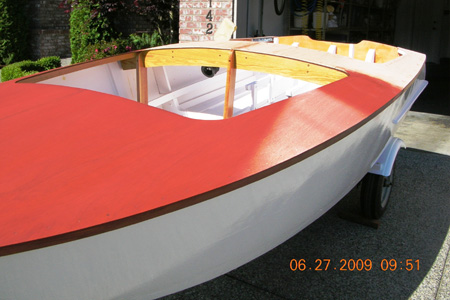
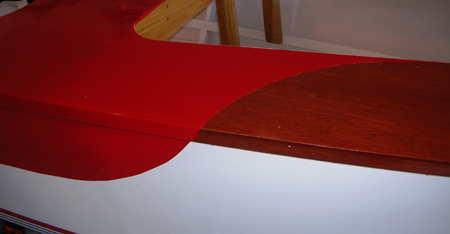
Where the paint meets the varnish.
Ned and Ed sent pictures and measurements for the Sande Ace swoosh paint job.